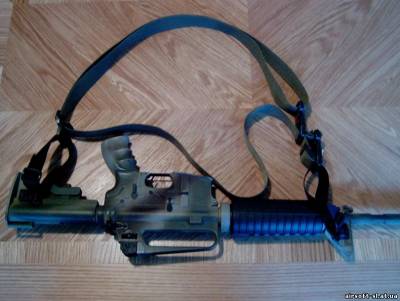
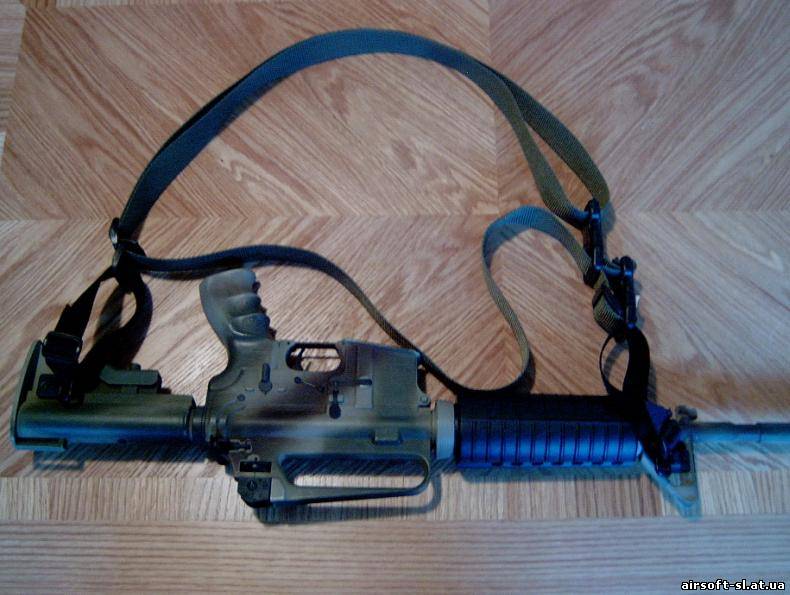
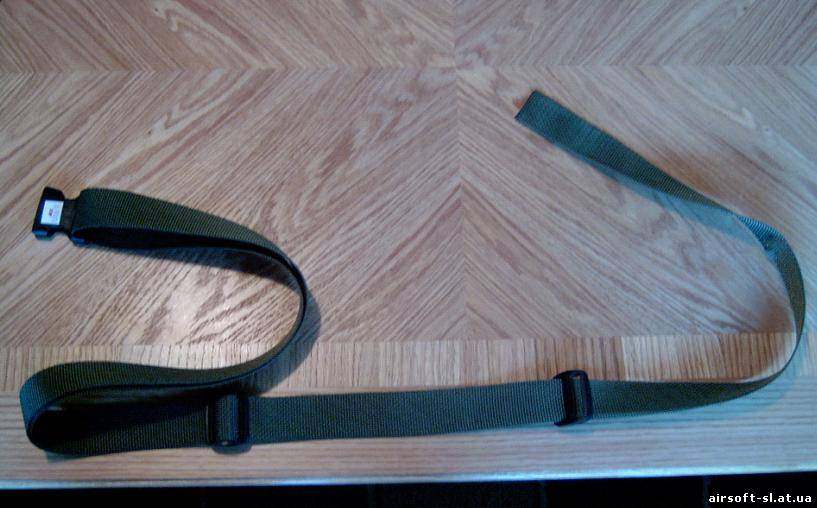
I was bored today so I took some time to figure this out so here it is, build you own tactical sling STEP BY STEP with pictures. Here's what you're going to build...
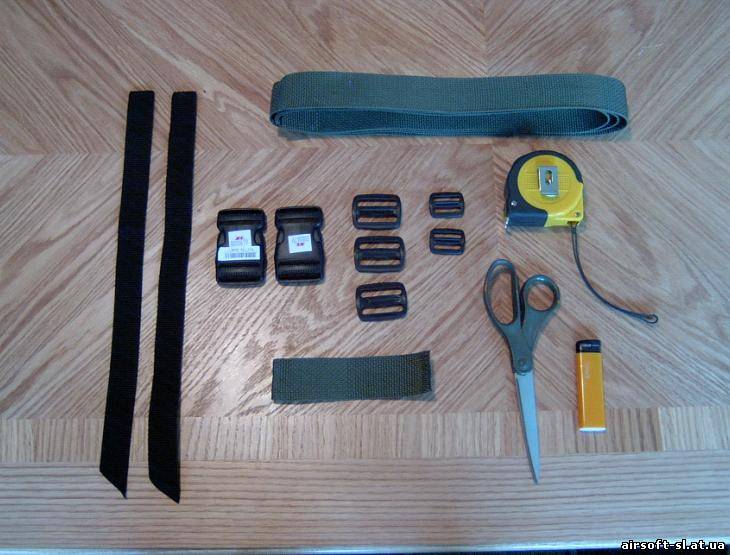
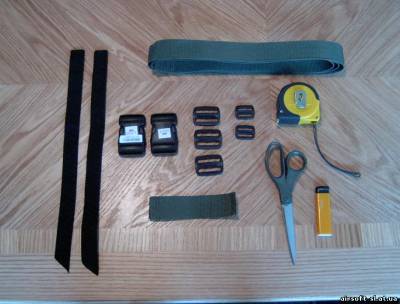
Best thing, its the same type of sling that can cost as much as 40 bucks, you'll build it for under $11! here we go Step 1: gather all parts needed for the build they are: 7.5 feet of 1.5" wide nylon web 5 inch piece of 1.5" wide nylon web <-------I'm getting feedback that this piece works much better 7 inches long. To each his own, assembly is easier with the longer piece. Two 15 inch pieces of 1" wide nylon web Two 1.5" wide buckles Three 1.5" wide slide locks Two 1" wide slide locks Tape measure Scissors to make the 5" piece and the two 15 inchers Lighter to seal the ends of the nylon web All the parts needed to make the sling can be found at ACE hardware for $10.08
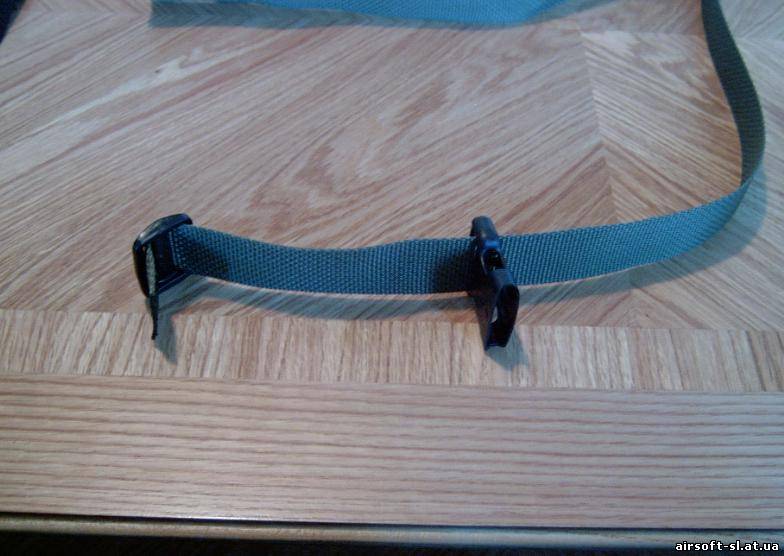
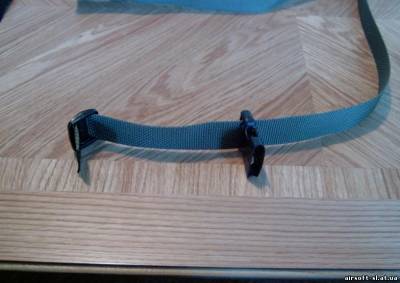
Step 2: Slide a female buckle end onto the 1.5" web and then put a slide lock on the tail of the web itself. Paying attention to the direction of the slide and female end in the picture
Step 3: Loop the web back and through the slide lock installed in the 2nd step, make your loop 27 inches long. Paying attention to the direction of the slide and female end as before, use the picture if it helps

Step 4: Slide a 1.5" slide lock on to the web, note that you will leave an open end of the new slide lock pointing out, this will now be the "outside" of the sling. Follow picture.
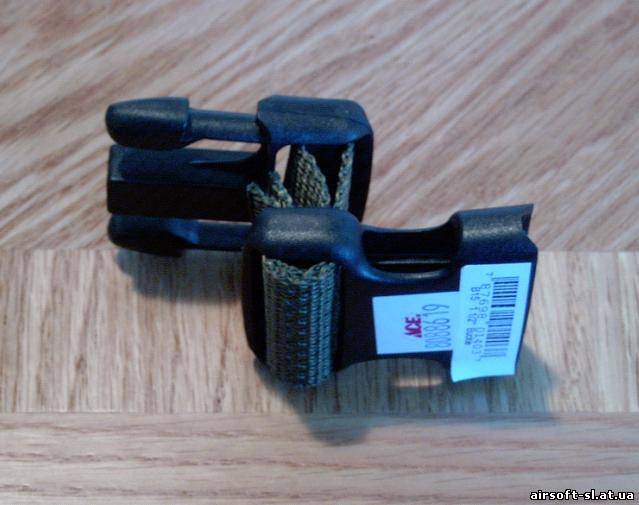
Step 5: Assemble this piece using the 5" long piece of 1.5" wide web and one female and one male end of 1.5" buckles. This step would be hard to describe use the picture for the details, but pay close attention to the way the web is routed and the direction of the buckles.

Step 6: Slide the assembly you made in step 5 onto the sling as shown in the picture.
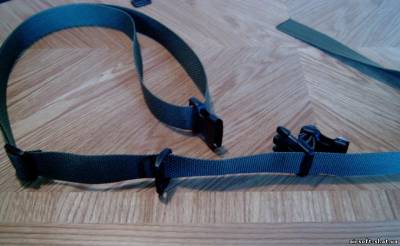
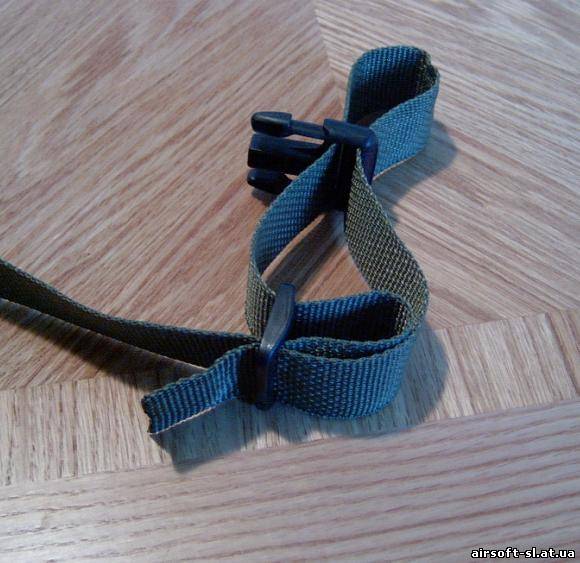
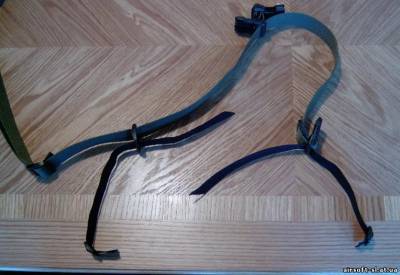
Step 7: Assemble this mess on the open end of the sling using the last male buckle and a slide stop. I left the web loose in this picture to illustrate the way to route the sling through all the parts. Note that the tail of the web is on the outside of the sling, as described in step 4

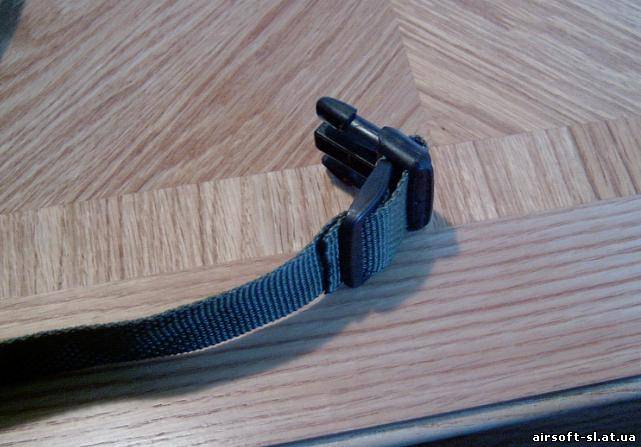
Step 8: Tighten step 7 down to look like this, only leave 1/4-1/2 inch of web past the slide lock

Step 9: Using the two 15" pieces of 1" wide web and the two 1" wide slide locks pass them through like shown in the picture. This is where you will use the open end of the 1.5" lock left over from step 4. The 1" web passes through the outside of the male buckle installed in step 7 and 8
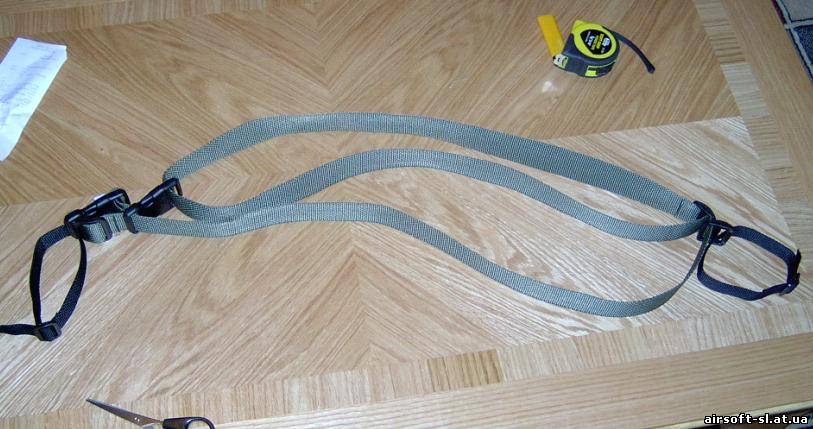
Step 10: Tighten everything down good, and snap all the buckles, you'll have something that looks like this when your done!

and here it is on an AR using GG&G sling things